How to expand a modular container house is not just a question of adding another box. It is a planning problem involving structure, connections, services, access, and future use. A new room may look simple in a site sketch. The real work is making sure the existing unit can support the change.
Industry figures offer useful context, but they need careful interpretation. McKinsey’s 2019 report on modular construction found that off-site methods could accelerate project schedules by 20 to 50 percent and reduce costs by up to 20 percent. These estimates cover modular construction broadly; they are not a guarantee for every container-house extension. Site conditions, transport, foundations, and customization can change the result. Numbers help. They do not replace inspection.
This guide explains how to expand a modular container house through practical decisions: checking the original frame and foundation, selecting an extension layout, coordinating electrical and plumbing routes, and planning delivery and installation. Imagine a narrow side addition where a new doorway must align with existing floor levels. A few centimeters can matter. So can rainwater drainage.
The safest plan begins with the manufacturer’s drawings and a qualified professional’s assessment, especially before cutting or altering structural members. That step may feel slow. Skipping it can create expensive surprises. Some projects also reveal an awkward truth: expanding is not always the best option. Comparing an extension with a separate module can clarify the trade-offs in cost, disruption, and usable space.
Expanding a modular container house starts with measuring how the current space is used. Note clear floor area, door swings, window positions, and the width of busy walkways. A tape measure and a simple floor plan can reveal whether the problem is limited room or poor layout. Sometimes moving a table helps more than adding a module.
Then check capacity and structural limits before planning an extension. Record the number of occupants, expected furniture, appliances, and stored items. Their combined weight matters, especially when loads are concentrated near one wall. Modular units may have different frame designs, connection details, and foundation requirements, so do not assume two units can simply be joined. Review the original drawings and have a qualified structural professional assess the frame, supports, and proposed openings. That step can feel slow. It is still cheaper than correcting a sagging floor or a leaking joint.
Also consider how added space affects the whole building. A new module can change wind exposure, roof drainage, utility routing, and access to exits. Check the ground and foundation for uneven settlement, and inspect existing connections for corrosion or movement. Measurements are useful, but they are not a substitute for a site inspection. Leave room in the plan for practical details, such as service access and a clear path between rooms. I once underestimated that last point; the extra floor area looked generous on paper, yet the passage felt cramped in use.
Walk the area after rain. Look for soft soil, standing water, or ground that shifts underfoot. Mark underground utilities and keep access clear.
Match the foundation to the soil, climate, and combined load. Options may include compacted gravel, engineered piers, or a reinforced slab.
Do not assume they can. Ask a qualified structural professional to review the drawings, connection details, and foundation plan.
Small height differences can make installation difficult. Measure supports after compaction or concrete work, and check alignment again on site.
Check its foundation, supports, and frame for movement, corrosion, or water damage. Measure the connection face at several heights.
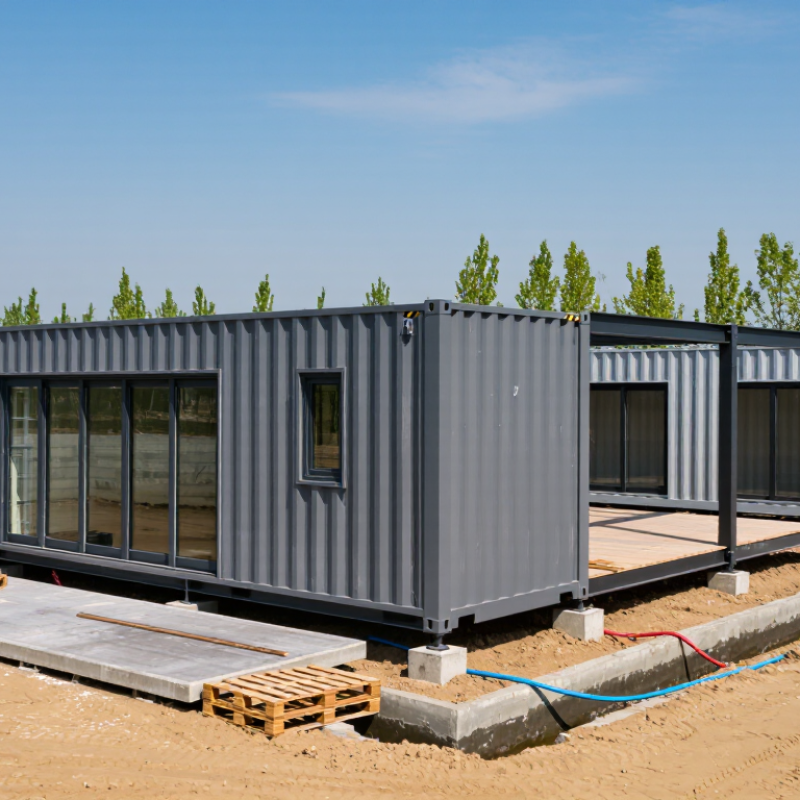
Place the new module on a level base and align the frames first. Temporary braces can help hold it steady while checking plumb, level, and openings.
Use connection plates and fasteners specified for the design. Add compatible flashing, gaskets, and sealant as required; sealant alone is rarely enough.
Look for gaps and confirm doors and windows move smoothly. Check drainage paths, and have qualified professionals review structural changes and service connections.
The original module may have settled. Recheck alignment after securing the modules; the site may not match the drawings perfectly.
Expanding a modular container house begins with a careful assessment of the available space, the existing structure’s capacity, and its foundation and connection limits. This first step helps determine whether the home can safely support additional modules and how much expansion is practical. Next, plan a layout that improves the way the space will be used, while selecting modules that are compatible with the existing structure in size, design, and connection points.
Once the plan is ready, prepare the site and foundations to support the added weight and provide a stable base. Connect the new modules securely to the existing home, taking care to protect structural continuity and weather resistance. Extend electrical, plumbing, and other utilities as needed, then complete thorough safety inspections before using the expanded space. Following these steps provides a clear, practical approach to how to expand a modular container house while keeping the project organized, functional, and structurally sound.

 JNM HomeTech